In this post, I will write about alpine skills such a recommended way of travel on glacier terrain and tying in as a team
How to rope up on the glacier?
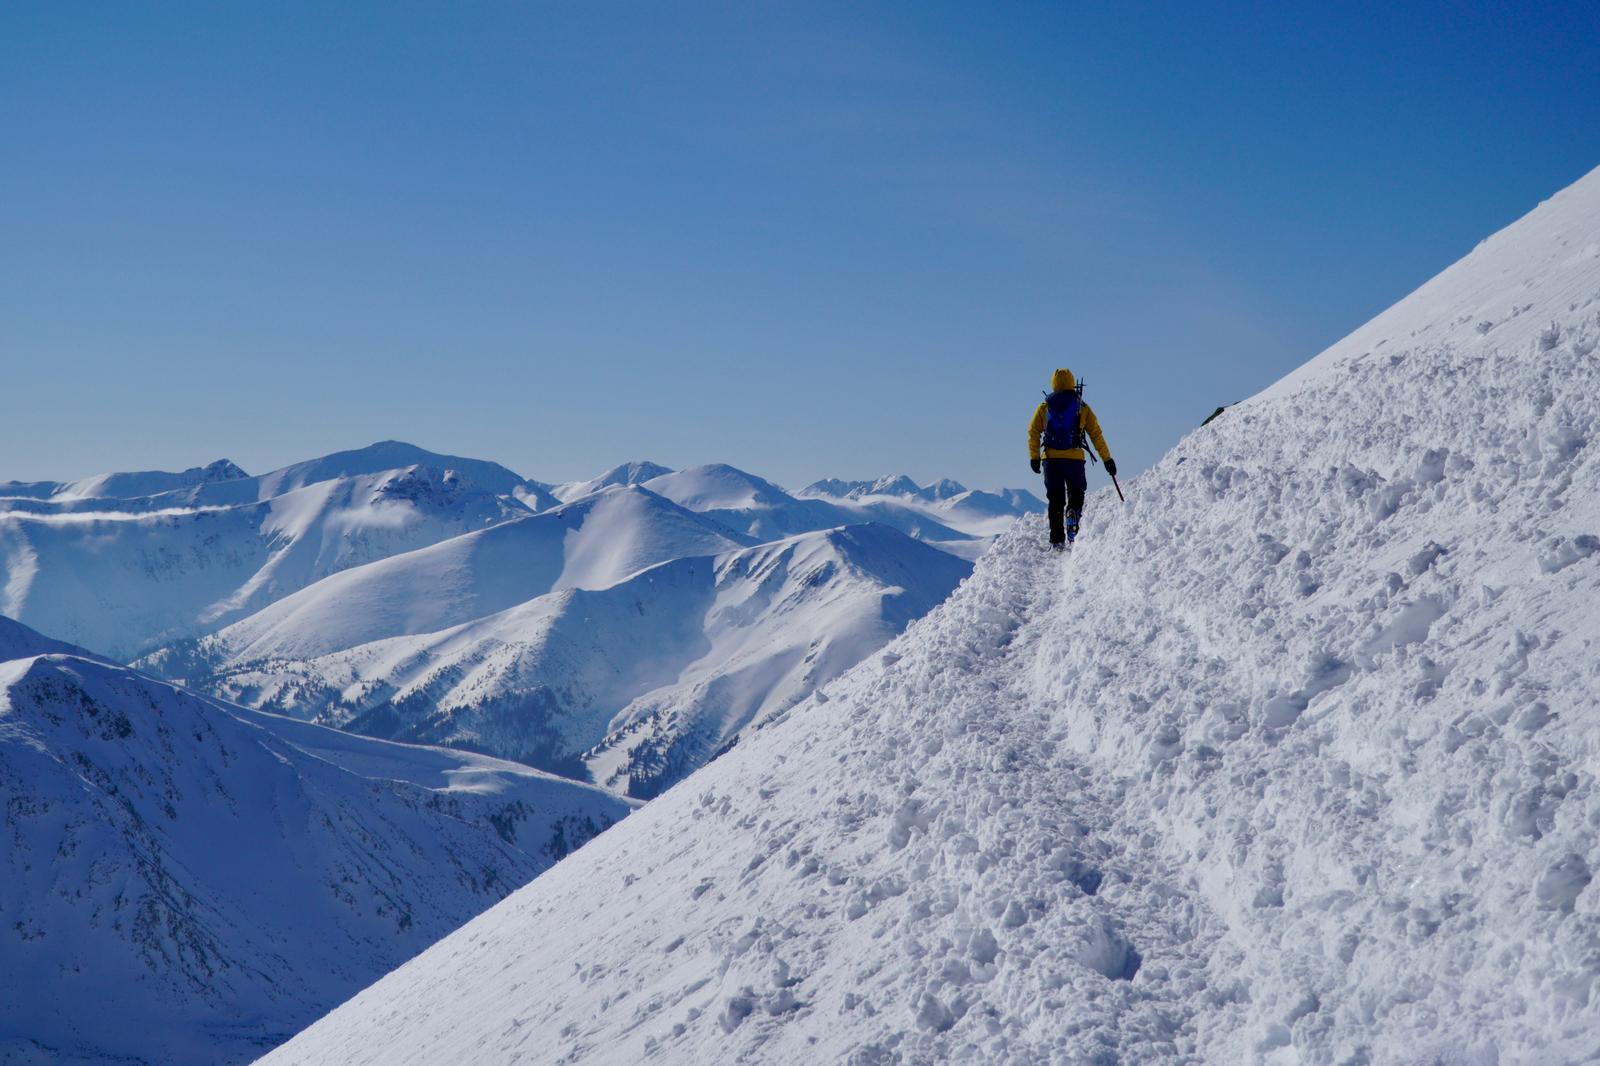
When we move into the Alpine terrain we will encounter glaciers at some point. We must be connected to each other by rope before we step onto the glacier to be protected in the event of falling into a crevasse. These are essential alpine skills. A common problem is how to get the distance right and whether should we use knots or not. Below I present the method which is being taught in our school. We strongly recommend teaming up with 2 or more climbers to form a team on the glacier. A 2 climbers team is the high-risk option – when one of you falls to the crevasse the only person to hold and break your fall is your partner. Team members in such situations must be super experienced, must know how to rescue themselves, and must have been practising crevasse rescue scenarios beforehand.
The recommended number of members of the team is three, with a maximum of four people. It is more reasonable for 5 people to be divided into a group of two teams, whereby the distances between the groups should be the same as between the members of each team.
Rope
- a single 60m to 50m rope is recommended as the most universal one (especially when passing from the glacier to the rock ridge).
Tying in (team of 3 climbers)
- the first and the last climber connects the rope to a harness with a figure of eight, adjusts the length of the rope, ties an alpine butterfly knot and connects a loop with one screw gate and one snap gate biner (place gate opposite to each other) to the harness belay loop. A spare rope I recommend storing it in a rucksack,
- the third member of the team attaches himself to the rope in the middle by an alpine butterfly knot or overhand knot with an isolation loop and two biners as above,
- the minimum distance between team members is 15 m when knots are done. We must tie alpine butterfly knots (they will “eat” 3m of the rope). This means that on a 50m rope we have around 7-6m of the rope in the rucksack on each end,
- the distance should be adjusted to the terrain and difficulty of the glacier, a general rule says – that the more inclined and “broken” glacier the bigger distance (length of the rope),
- the lightest or the least experienced member of a 3 person’s team should go in the middle of the rope.
Alpine butterfly knots in the rope
- always recommended,
- mandatory in a two-person team,
- the first knot should be located approx. 3 m from your harness,
- the minimum number of knots is 3.
Moving
- keep the rope taut,
- adjust the distance and length of the rope when necessary.
Equipment that each team member should carry:
- Micro Traxion or similar capture pulley
- 2 x 120cm slings (for building anchor)
- T-block or similar
- 2 x ice screw
- 4 screw gate biners
- 4 snap gates
With modern equipment accessible easily on the market, there is no excuse but to buy a Micro Traxion and T block or similar equipment.
I hope you like my input into alpine skills.
Disclaimer: All climbing and mountaineering are activities with a danger of personal injury or death. Participants in these activities should be aware of and accept these risks and be responsible for their own actions. If any of the techniques, skills or advice presented on my blog are not clear to you, seek professional advice and instruction before applying them.
- Alpine Skills – How to rope up on the glacier?Navigating glaciers demands precision. Learn the art of roping up for crevasse safety in our winter mountaineering course. Discover optimal team sizes, knot essentials, and equipment recommendations. Elevate your alpine skills with us and conquer glaciers confidently. Safety and mastery await – join us today!
- An ideal development path in mountaineering or climbingUnlocking the Alpine Path – a Safe Journey into Mountaineering. Embarking on a mountain journey requires not just courage, but knowledge. Accidents in these majestic landscapes can be averted with the right education. Learn from Piotr Sztaba, a seasoned Polish Tatra Mountain Instructor, as he lays out the ideal progression for aspiring mountaineers. Discover the critical phases of skill-building, from conquering rock walls to winter peaks. Choose a path of competence, wisdom, and thrilling adventure.
- Climbing in Poland – the short history and main regionsA Glimpse into Poland’s Climbing Legacy – embark on a journey through Poland’s climbing history, marked by the daring spirit of pioneers like Antoni Malczewski and legendary figures like Kukuczka and Rutkiewicz. From conquering Aiguille du Midi in 1818 to mastering Himalayan winter ascents, Polish climbers have etched their legacy. Explore the diverse climbing regions – from the majesty of the Tatra Mountains to the limestone crags of Jura Highlands and the granite challenges of Sudety Mountains.
- Climbing rack for winter climbing.Winter climbing is the most extreme type of climbing which requires years of experience and practice. Not only placing a gear is difficult but the assessment of the quality of…
- What to wear in winter?Winter Gear Guide – Dress-code in the Tatra Mountains. Facing the winter wilderness demands strategic clothing choices. Beyond style, each layer is a tool that contributes to safety and comfort. Discover the secrets of effective layering, from base to outerwear, and make the right call between staying warm and avoiding sweat. Navigate the winter wonderland confidently with the perfect gear setup.
- Winter in the polish Tatra Mountains: trek – climb – ski – party or other way around!Explore the enchanting Tatra Mountains during winter – a unique blend of tatras beauty and adventure. Nestled between Poland and Slovakia, these peaks offer diverse activities like mountaineering, skiing, and climbing. Discover the allure of Morskie Oko Lake and Hala Gąsienicowa, perfect for winter mountaineering and ski touring. Trek, climb, or ski through the stunning landscape!